


Big Red Cloud Bank Feed
This guide has been written to instruct users in importing Bank Lodgements from a CSV file, either provided by your bank or another software.
Locating the Bank Feed Button
The Bank Feed button is available in the Bank Accounts tab through both Lookup and the Setup menu.
You can open lookup from the icon on the main screen after you open your company, as well as in the toolbar at the top of the screen when you are using one of the books of entry.
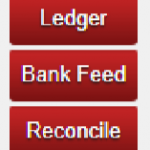
The Bank Feed button is on the right of the Bank accounts screen after it has opened and appears between the Ledger and Reconcile buttons.
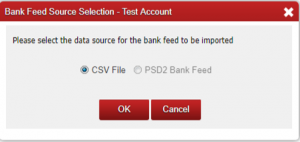
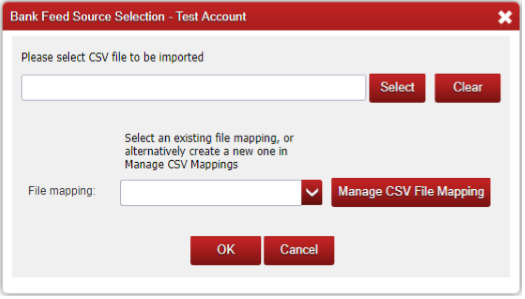
Once the Bank Feed button is clicked it will open the Bank Feed Source Selection screen.
The CSV option will be selected by default since, as no bank has yet released its PSD2 Feed option, it is not currently available.
Creating A CSV File Mapping
Adding The File Mapping
Before a file can be imported it must have a file mapping generated.
This is done once, to tell Big Red Cloud the format of the file that you will be importing. This is then re-used for any files you receive from that source from then on.

To generate the file mapping you select the option ‘Manage CSV File Mapping’.
This will open a screen listing the file mappings that you have created as well as any universal file mappings that are available.

Once the screen has opened click ‘Add’ to create a new file mapping or select an existing mapping and click ‘Change’ to amend it.
Setting The File Options
After clicking Add use the ‘Select’ option and choose the file that you want to import.
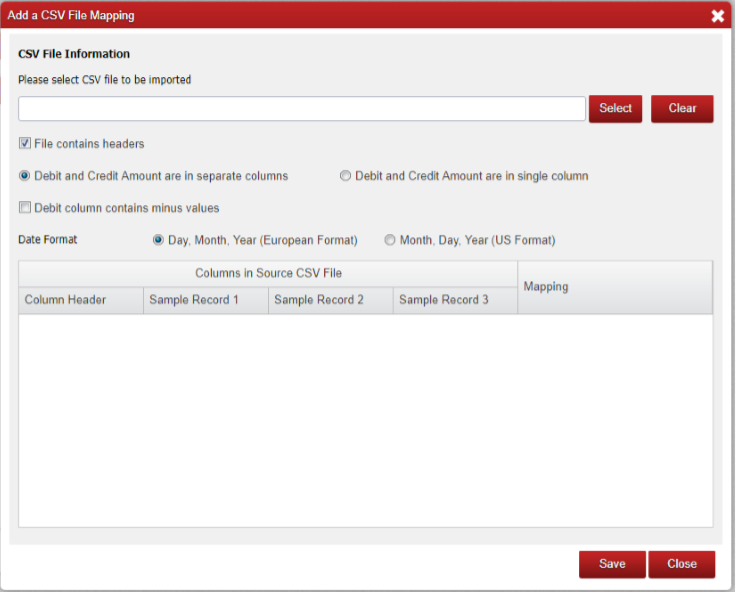
Once you have selected your file it will be used to fill in the Column Header and Sample Record fields.
If your file has a header row then you can leave the ‘File contains headers’ option ticked, if not this should be unticked.
If your file has no headers a numbered column header will be generated.

The next option within this screen is the Debit/Credit column selector, this tells Big Red Cloud if the file you are using has separated the Debits and Credits into their own columns or not.
If you leave the default (separate columns) chosen you can also specify if your file has placed a minus symbol in front of the debit columns contents.
If it has then this box should be ticked so that Big Red Cloud understands it needs to adjust the figures to read correctly on import.
![]()
Mapping The Files Columns
The final choice to make for your file is to set the date format for your CSV file. Depending on your banks practices the file you have may use either the European (Day/Month/Year) format or the American (Month/Day/Year) format.
Select whichever option applies to the file you are creating the mapping for.
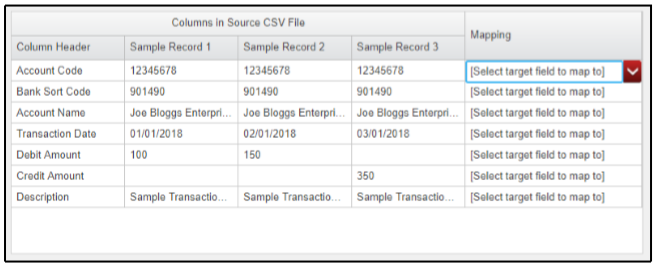
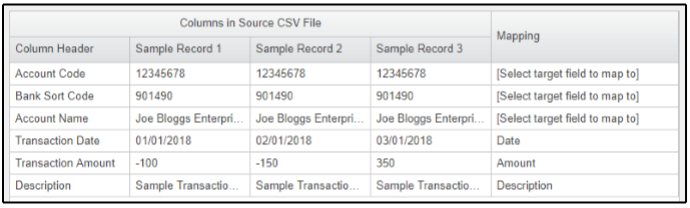
The last step to creating a file mapping is to select the fields from your file that will be imported.
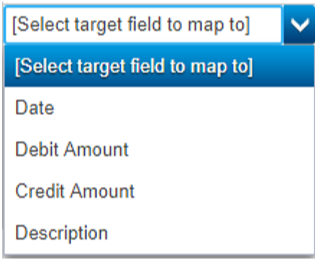
If the Debit and Credit amounts are in separate columns you will have the 4 mapping options shown to the left to select from.
The Date option is the transactions date.
The Debit and Credit Amounts should point to the Debit and Credit columns in your spreadsheet.
And the Description will be the text that appears when viewing your transaction in the ledger.
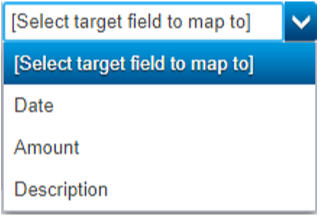
If the Debit and Credit amounts are in a single column then you will only have the 3 shown here.
The Date and Description options are as above.
The Amount option should be chosen beside the column that contains the transaction totals in your spreadsheet.
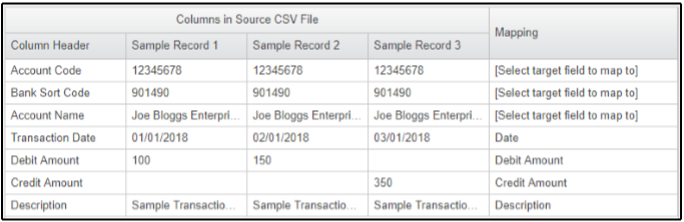
This leaves you with a screen that looks like this when there are separate debit and credit columns.
And like this when there is only one amount column.

Once you have done this you can save your new file mapping with any name you choose.
Importing Cash Receipts And Lodgements from The Bank CSV File
Now that you have created a file mapping you can import Cash Receipts and Lodgements from a bank CSV file.
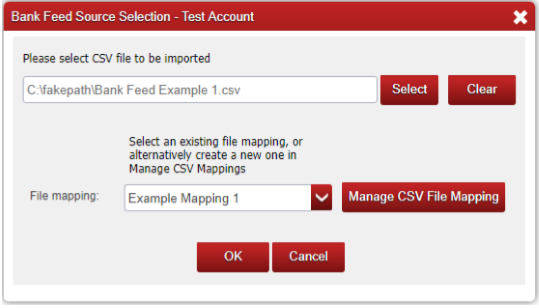
Opening the Bank feed Source selection screen again (as you did at the beginning) you can now select a CSV file to import using the select option.
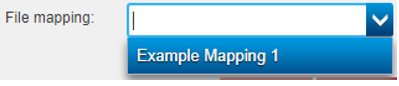
You can also select your new file mapping by clicking on the arrow to the right of the File Mapping option and choosing it from the list that appears.
This should leave the screen looking like this.
If you now click ‘Ok’ you will be brought to the Review and Import Transactions Screen where you will see a list of the transactions within your file and the options available for them.
Any Credit transactions with a date inside your current financial year will be automatically ticked to create both a
Cash Receipt and a Lodgement.
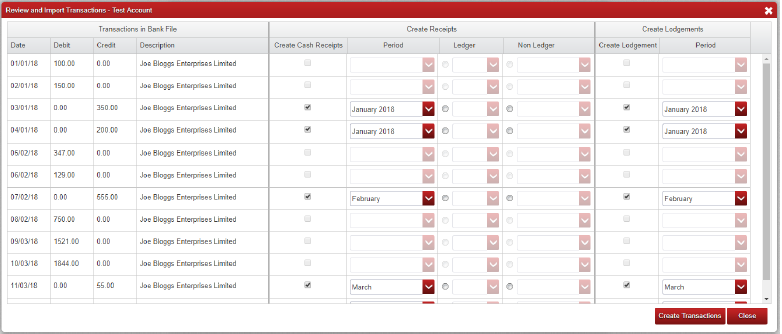
The screen above is split into 4 sections (the first 3 of which are visible above).
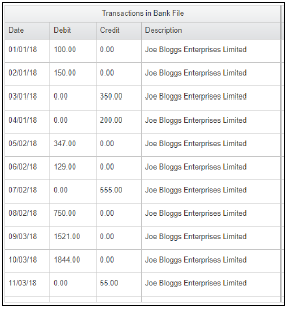
On the left hand section you have the transaction details;
• Date
• Debit and Credit amounts
• The Description.
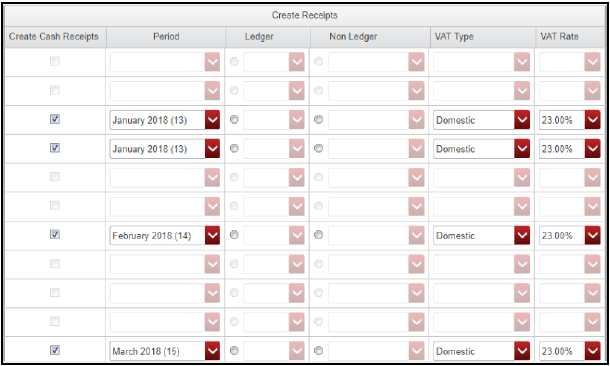
In the second column you have the Cash Receipts details;
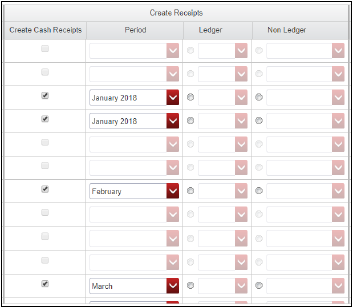
• A check box to pick whether or not the Cash Receipt is
created
• A drop down list to choose the period it is added to if it is
created
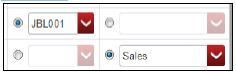
• A radio button to say if it is a Cash Receipt from a customer
(Ledger) or not (Non-Ledger)
• In each of those cases a drop down list to choose the
Customer Account or the Analysis Category the entry will be
added to.
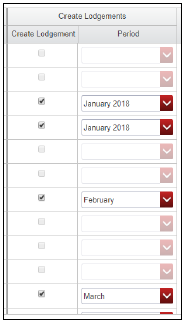
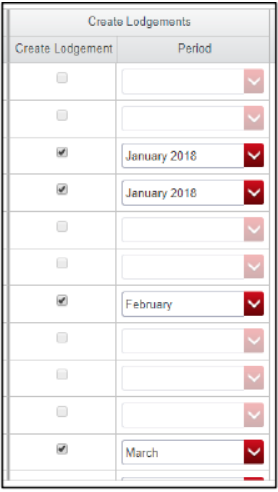
On the right are the lodgements, here you have;
• A check box to pick whether or not the lodgement is created
• A dropdown list to choose the period it will be added to.
Currently only the Cash Receipts and Lodgements (the Credit transactions) can
be imported so the Debit options (Bank Payments) cannot be ticked at this time.
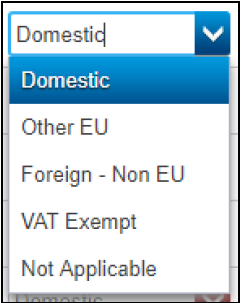
If you use Vat on Cash Receipts you will have two extra
columns, Vat Type and VAT Rate.
These columns will allow you to set the VAT Type for
your entry (Shown Below) as well as the VAT Rate that
will apply for it.
The Vat Rates available will be your usual VAT rates as
set in ‘Setup’ -> ‘Vat Rates’.
to the right are the lodgements, here you have;
On the far right is the Bank Payment details;
• A check box to pick whether or not the Bank
Payment is created
• A dropdown list to choose the period it is added to if
it is created
• A radio button to say if it is a Payment to a Supplier
(Ledger) or not (Non-Ledger)
• In each of those cases a dropdown list to choose the
Supplier Account or the Analysis Category the entry will
be added to.

Once you click the Create Transactions option Big Red Cloud will
process the ticked transactions and create a lodgement (as a Cash
Payment) or a receipt (as a Cash Receipt) for each of them within the
Cash Book.
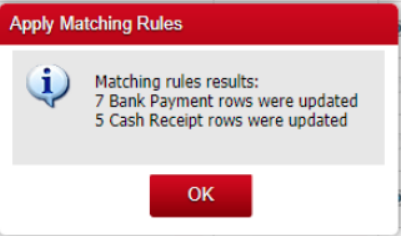
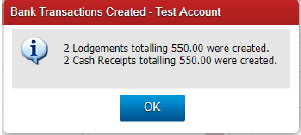
Once done it will return a message telling you how many transactions
have been created and the total value of all created transactions.
If the transaction validation fails when ‘Create Transactions’ is clicked you will need to correct those errors before the import can succeed.
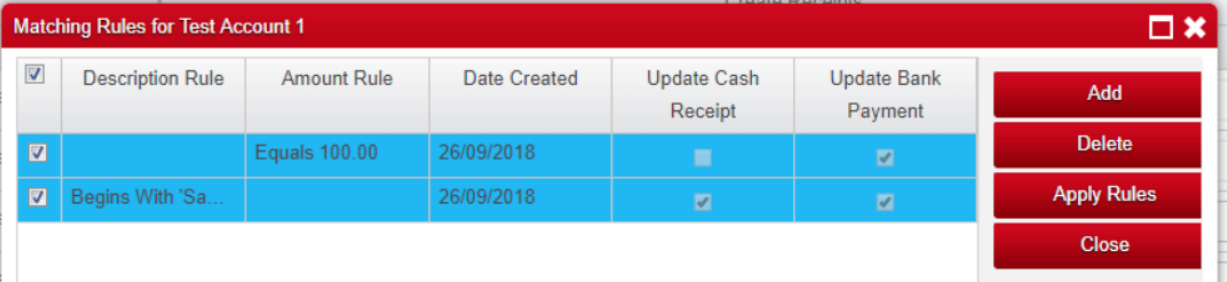
Creating Bank Feed Rules
It is possible to create rules which can be applied to your bank files in order to make the import easier.

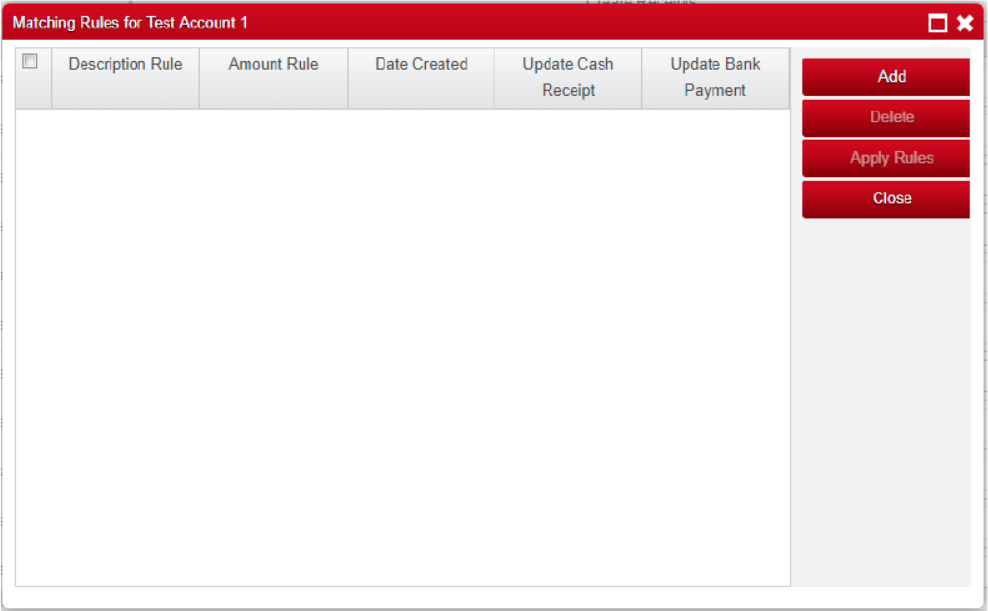
Once the screen has been opened select ‘Add’ to create a new rule and the ‘Add a Matching Rule’ option will appear.
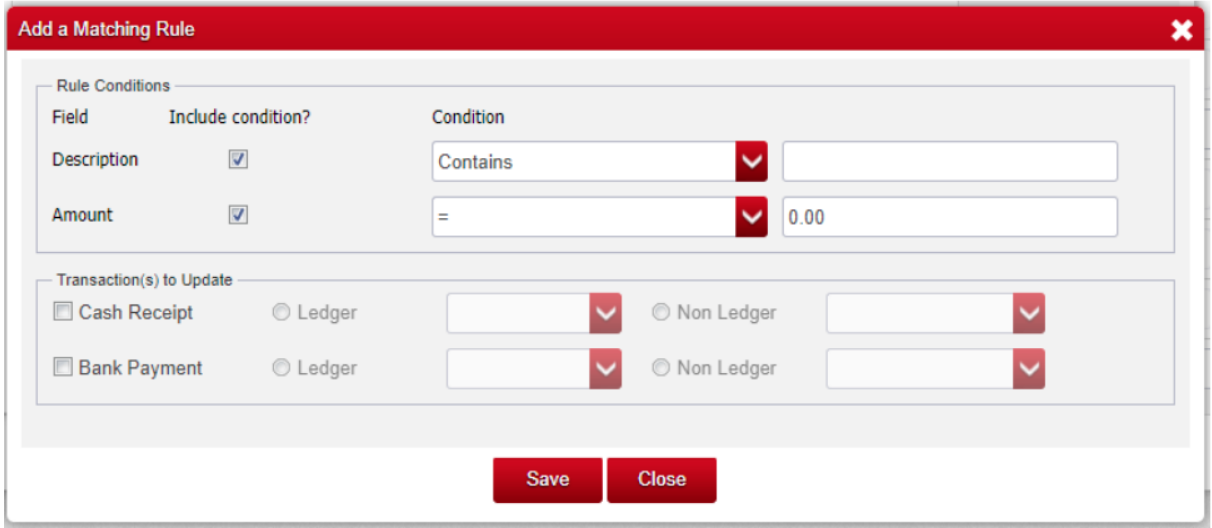
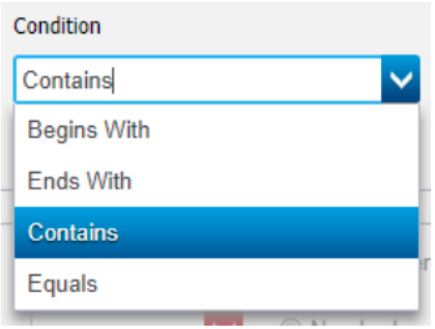
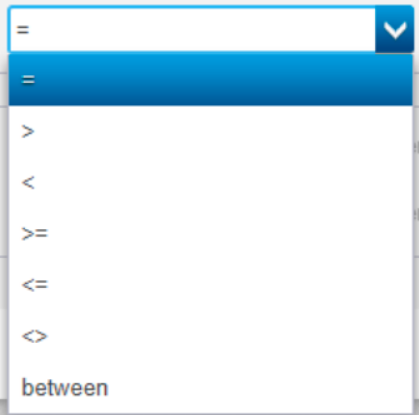
Rules Conditions: