


Quotes – filters, sorting, reports, print/email
- Filtering:
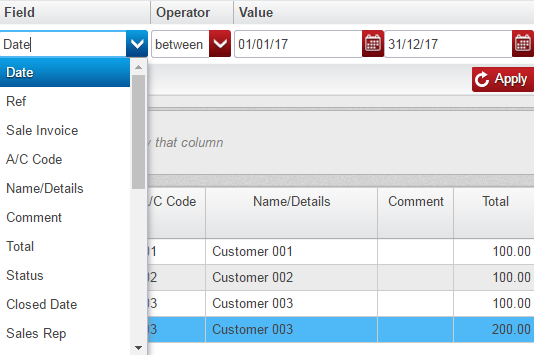
You can create filters within the Quotes Book. For example, you could filter it to show all quotes from 01/01/2017 to 31/12/2017 relating to ‘customer 003’ that were sold by ‘Mary’. To do this example: select the relevant ‘Field’ i.e. ‘Date’, ‘Operator’ i.e. ‘Between’, and ‘Value’ i.e. ‘01/01/2017’ and ‘31/01/2017’. Then click ‘Apply’.
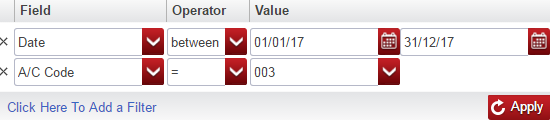
To filer this further, click ‘Click Here to Add a Filter’ and select your next criteria. Click ‘Apply’ again. You can follow this same routine to keep filtering further within this.
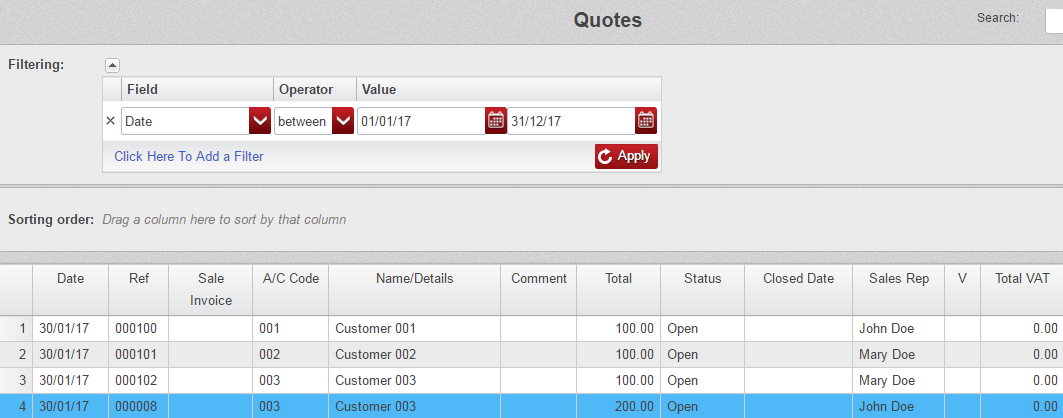
Before:
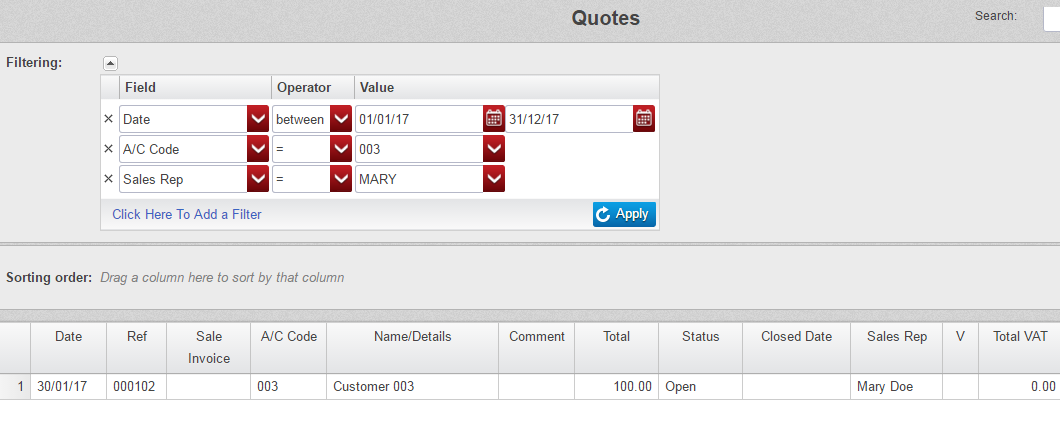
After:
You can clear your filter to return it back it its original display. To do this, click ‘Clear’

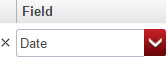
You can alternatively clear an individual filter by clicking ‘X’ to the left of the filter you want to clear.
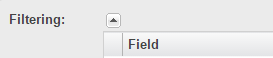
You can also collapse the filtering along the top by clicking the upwards arrow above ‘Field’. This provides more space to display records.
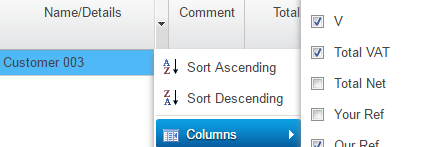
You can hide certain column(s) if you wish. For example, you may wish to hide ‘Your ref’ and ‘Total Net’. To do this, highlight between any two columns. A downward arrow will appear which you should click. Next click ‘Columns’, and untick any columns that you do not wish to display. Note: you can tick these again to display them at any point.
- Sorting:
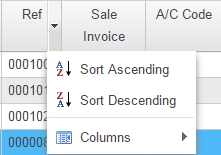
You can sort your list of quotes by various column heading(s) e.g. ‘Ref’. This can be done ‘Ascending’ (A at the top, Z at the bottom) or ‘Descending’ (Z at the top, A at the bottom). To do this highlight the column heading you want to sort by, click the down arrow to the left of it and choose ‘Sort Ascending’ or ‘Sort Descending’ depending which way you want it to display.
You can sort by more than one column headings if you like and you can order these, for example you might choose to sort first by ‘Date’, and within that by ‘Ref’ and within that by ‘Total’. Note: you can change the order of these by click and drag (the one on the far left will be the one if sorts by first).

- Reports: saving, loading, printing, exporting:
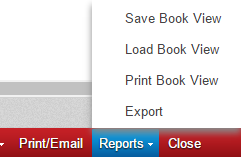
You can ‘Save’ the display of the quotes you have on screen if you want to ‘load’ it again at a later date to look at. You can also ‘Print’ it and ‘Export’ it. The options are available by clicking ‘Reports’ at the bottom of the screen.
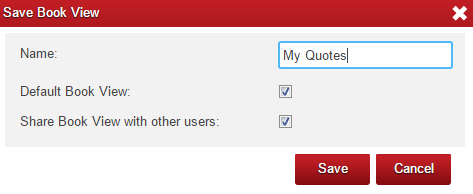
Click ‘Save Book View’ to save this display. Choose a ‘Name’ for it. You can share it with other users if you would like by ticking ‘Share Book View with other users’. You can also set a ‘Default Book View’ here. If you tick this the Quotes Book will always open with this view (It is specific for the user, not for the company/ other users).
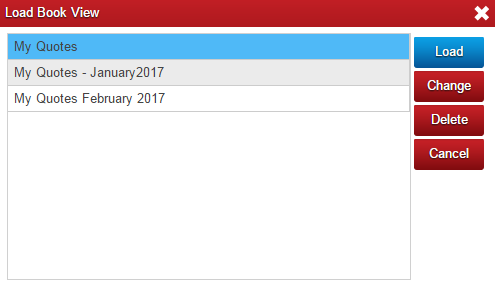
You can load it when you would like to view it. Click ‘Reports’ – ‘Load Book View’. Highlight the one you want to load and click ‘Load’. You can also change details here such as its name. You can also delete it.
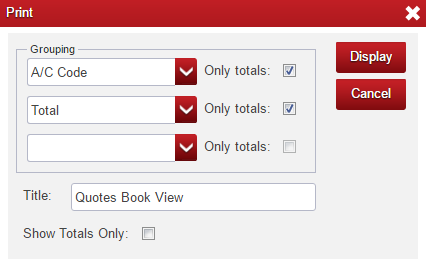
You can get it to print a certain way e.g. to show only the totals of certain group(s). Click ‘Reports’ – ‘Print Book View’. From there you can group them by any of the column headings (it will allow you to do 3 groupings i.e. you might first group by ‘Account code’ and next by ‘Total’). If you only want the ‘Totals’ to show (rather than the details of those quotes) click ‘Only Totals’ for the relevant Grouping(s). Alternatively, you can get only ‘Totals’ to show by clicking ‘Show Totals Only’. Choose a ‘Title’ and click ‘Display’.
Example below: Grouping by ‘A/C Code’ and ‘Total’ with ‘Only totals’ un-ticked and ‘Show Totals Only’ un-ticked:
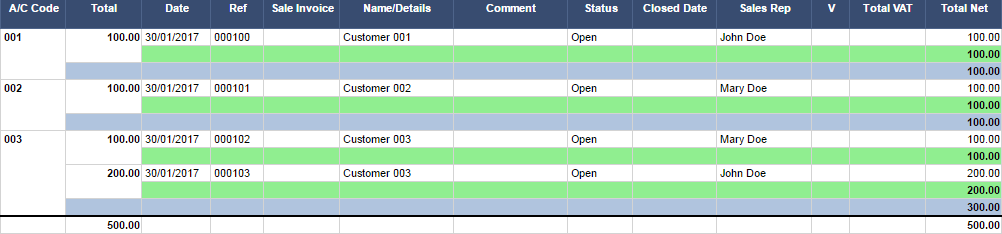
Example below: Grouping by ‘A/C Code’ with ‘Only totals’ ticked but ‘Show Totals Only’ un-ticked:

Example below: ‘Show Totals Only’ ticked

You can also export what is displayed in the quotes book by clicking ‘Reports’ – ‘Export’. It will then either download it or ask you to save it.
- Printing saving and emailing:
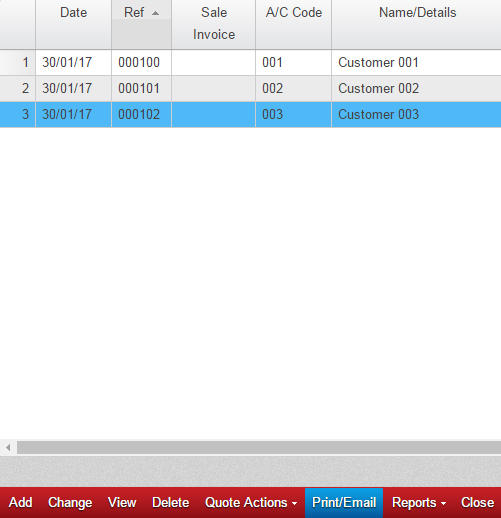
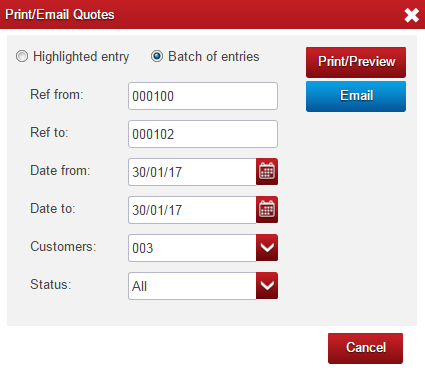
You can print and email one or more quotes at one time. To do this highlight the quote that you want to print/email. Click ‘Print/Email’ – choose ‘Highlighted Entry’ (if you want to print/email that particular quote) or ‘Batch of entries’ (if you would like to print/email a batch of quotes).
If you select ‘Batch of Entries’ you can choose a ‘Ref’ (Reference range), a ‘Date’ range, one or more or all ‘Customers’, and you can choose the ‘Status’ of ‘All’ quotes in that range, ‘Closed’ quotes in that range or ‘Open’ quotes in that range.
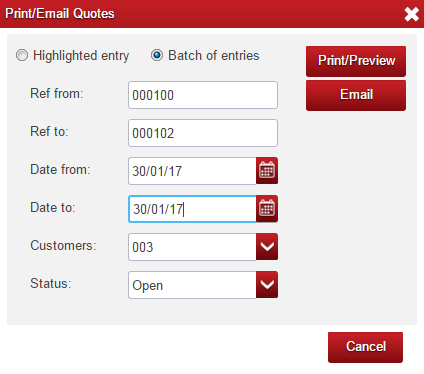
To print click ‘Print/Preview’. If you are doing a batch it will ask ‘Print all quotes in the selected range(s)?’, click ‘Yes’ if you are happy to do this. It will then display these. To print it, click ‘Print’ and then click print again on the next screen that appears.
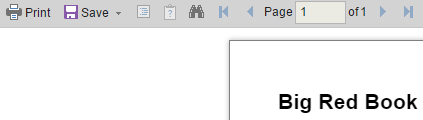
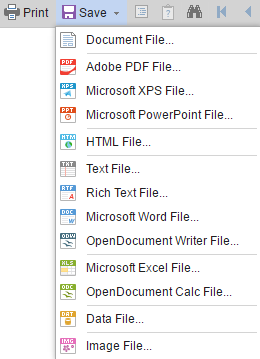
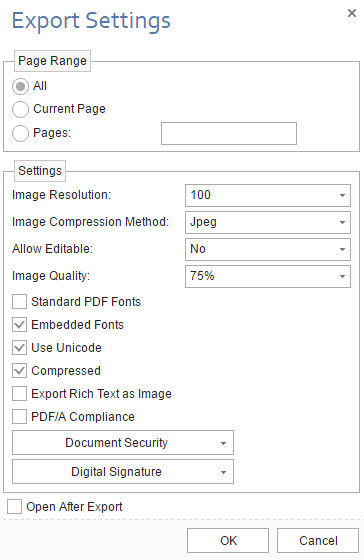
You can also save it (rather than print). To do this click the ‘Save’ button to the right of ‘Print’. You can then choose the format to save it to e.g. PDF. This will give an additional screen where you can set other criteria and settings e.g. to save ‘All’ or ‘Current’ Page(s) and he image quality.
 |  |
To email: The steps are the same up until you the ‘Print/Email Quotes’ screen where you tick ‘Email’. If you are doing a batch it will ask ‘Email all quotes in the selected range(s)?’, click ‘Yes’ if you are happy to do this.
You can tick the quotes on the ‘Email Quotes’ screen that comes up and click ‘Send’ to email them.
Please click HERE to return to the How to Add a Quote Page.